You Cannot Go Back
| Released on 2022-14-05 | ||
| Made by Tim Martin | ||
| Download: itch.io | ||
| 18 MB | ||
You Cannot Go Back! is a quick-to-play adventure game which will test your memory, skill, and reflexes.
Can you make it through all three levels of the dungeon alive, and escape with the treasure? Or will a nasty fate befall you?
Just remember dungeoneer - the only way is onwards; you cannot go back!
For more, see the game's page on itch.io. You Cannot Go Back! is an open-source project under the MIT licence. It is released via itch under the "Name your own price" payment model.
Walkthrough
In You Cannot Go Back you must traverse all three levels of the dungeon in order to escape with the treasure. You will need to survive passage through many different types of chamber, these are described below.
You start the game with one life, it is possible to gain more. Failure in some chambers will result in the loss of a life, other chambers contain critical failures, these are instant game-overs.
Action Chambers
| The Bomb Room |
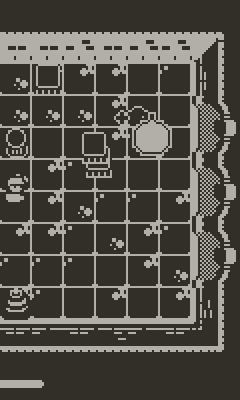
A simple chamber - use the Up, Right or Down arrow keys to choose an exit. Just make sure not to choose the exit behind the bomb, as running into it (or waiting for it to explode) is a critical failure! Difficulty The amount of time you have to select one of the two non-bombed exits reduces to around 0.5 seconds by Level 3. |
|
| The Dark Pit |
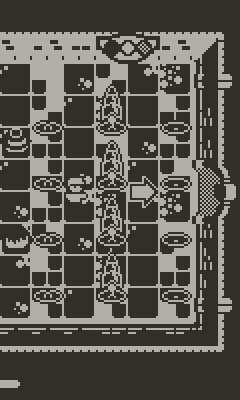
This chamber starts off in darkness, three ripples of light and corresponding high, medium or low tones spell out the safe path across the stones. Use the Up (high), Right (medium) or Down (low) arrow keys to choose the correct stone to move to next, based on the pattern from when you entered. Stepping on a wrong stone is a critical failure! Difficulty The speed at which the pattern is shown gets faster in higher levels. |
|
| The Corridor of Blades |
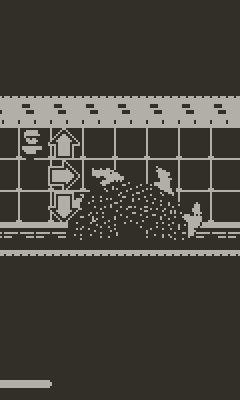
You are in a long corridor with circular saw blades hurtling towards you, use the Up, Right and Down arrow keys to position yourself such that the blades don't slice you. Pay close attention as getting hit by a blade is a critical failure! Difficulty Each level of the dungeon adds on an extra blade, and makes them faster. |
|
| The Chamber of Spikes |
Three sets of spikes piece out of the floor. You must press the Right arrow key at the correct moment to avoid getting impaled. Getting stabbed here is a critical failure! Difficulty The pattern of the spikes changes on each level, and time time between thrusts decreases to no pause at all in Level 3. |
Puzzle Chambers
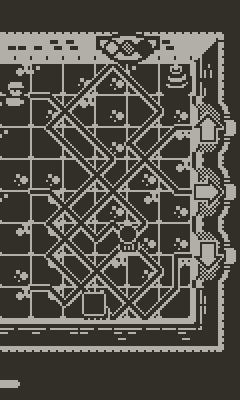
| The Maze |
A maze of lines connects three starting points to the three exits. The Dungeoneer will walk to one of the starting points, follow the line to the correct exit and choose this with the Up, Right or Down arrow keys. Choosing the wrong exit will loose a life! Difficulty The maze line gets thinner, and more boxes and pots obscure the route at higher levels. |
|
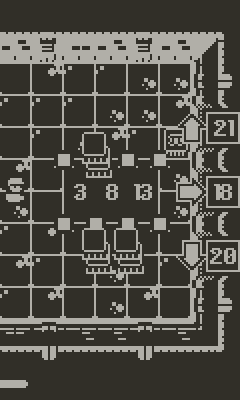
| The Maths Challenge |
Choose with the Up, Right or Down arrow keys the door which continues the number sequence on the floor. For example if the sequence is 5, 10, 15 then the answer would be 20. For 2, 4, 6 the answer would be 8. Choosing the wrong exit will loose a life! Difficulty In the higher levels the starting number and increase grow larger, the sequence may also grow! For example 5, (plus 5) 10, (plus 6) 16 where the answer would be (plus 7) 23. |
|
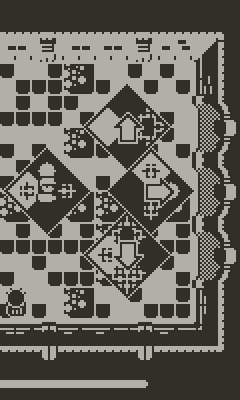
| The Shapes Puzzle |
Four patterns of diamonds and circles are laid out on the floor. Three of the patterns are next to the three exit doors, and one is under the Dungeoneer. The correct exit is the one whose pattern matches the central pattern under the Dungeoneer. Choose this with the Up, Right or Down arrow keys. Choosing the wrong exit will loose a life! Difficulty In Level 2, the patterns may be randomly rotated. In Level 3 the patterns may be both randomly rotated and mirror-reflected in either axis. |
Gallery
